Step 1: Installing WAMP
This is a fairly simple step – keep on clicking Next till you see Finish. In case you have a doubt, you could go through the following:
Its better to leave default installation directory unaltered i.e. “c:/wamp”
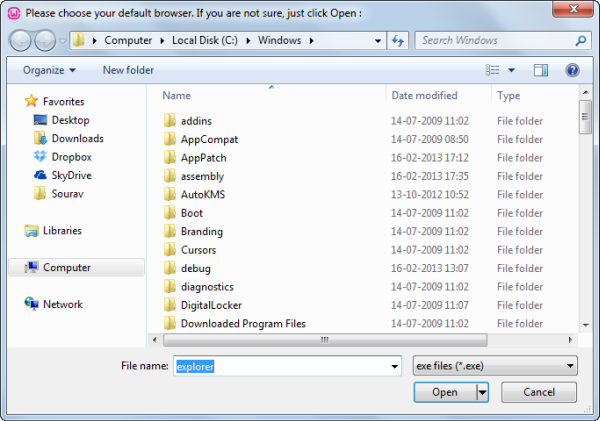
During installation, a prompt will ask you for a “default browser”. It’s explorer.exe. Simply click on Open as shown in the screenshot.
Click Yes when a prompt for “installing the new WampServer 2 homepage” pops up.
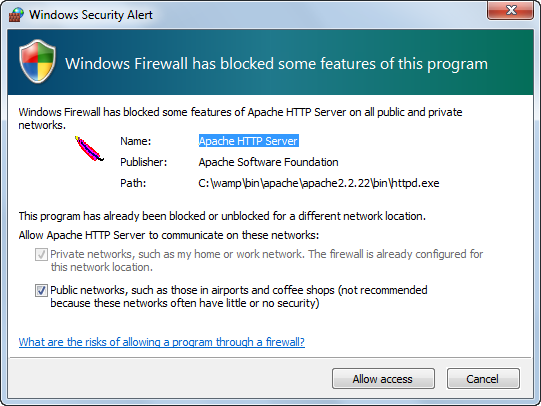
Add an exception to your firewall for Apache HTTP Server.
Let the SMTP and Email be set as the default values.
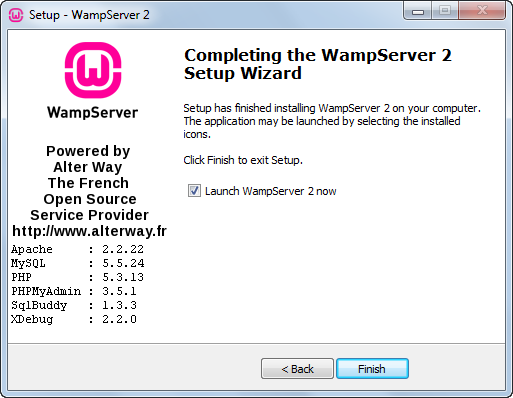
Once the installation is complete, check the “Launch WampServer 2 now” box and click on
Finish
.
Step 2: Making sure WAMP is Running
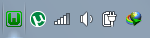
To ensure that WAMP server is running, check the color of the WAMP icon (capital W icon) in your taskbar. Following are the possible situations:
If the W icon is Red then WAMP server is not running and is offline. You will have to restart the sever or reboot your PC.
If it is Orange, then the server is partially running, i.e. Apache (you web server) is running and the MySQL service is booting or is offline. You should usually wait around 30 seconds and if the icon still doesn’t turn Green the you should restart the server.
If it is Green then it means that the server is online and should be accessible from your web browser.
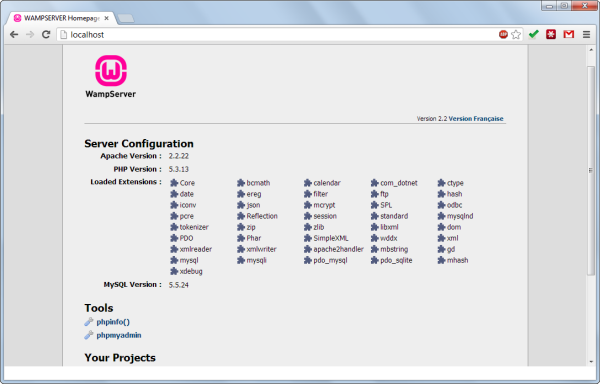
To test if your server’s running, open your favorite browser and enter “localhost” or “127.0.0.1″ in the address bar and see what comes up. You should get this:
Step 3: Create a New Database using phpMyAdmin
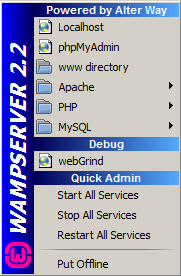
Left click on the WAMP server icon and select phpMyAdmin (second one from the top).
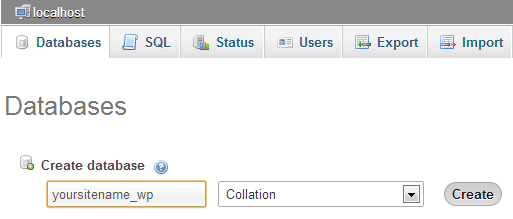
A new tab/ window should open up in your default browser called phpMyAdmin. Select the Databases tab.
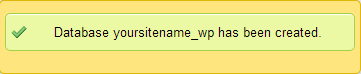
Enter your desired database name under Create a database (I have chosen: “yousitename_wp”) and click on the Create button.
If successful, you should get a message like this:
Step 4: Extracting the WordPress archive
Close phpMyAdmin and extract the contents of the WordPress ZIP archive under “C:\WAMP\www”. You should find a new folder called wordpress. That’s the WordPress installation directory. If you want to change it – that’s fine. Your WordPress installation will be available under “http://localhost/folder-name”. Thus in our case, its “http://localhost/wordpress”.
Step 5: Configuring your WordPress Installation
In this part, we shall establish a connection to the MySQL database we created in Step 3.
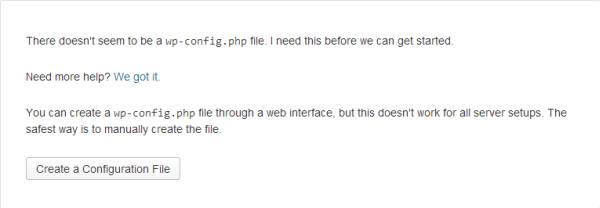
Open your browser and type http://localhost/wordpress in the address bar.
Click on Create a Configuration file.
On the next page, click on Let’s Go.
Fill in the details carefully:
Database name: yoursitename_wp
User name: root
Password: (leave it blank)
Database Host: localhost
Table Prefix: xs_ (The default is wp_ but its a good security practice to use some other table prefix)
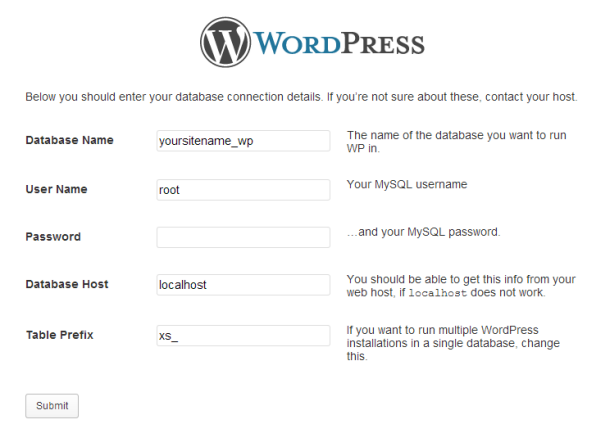
Click Submit. If the database connection is successful, then you should get this message:
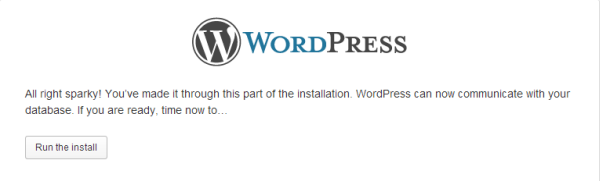
WordPress then creates the necessary tables in the “yoursitename_wp” database. In the following step, enter your Site Title, Username, Password and the rest of the required data. You should leave the Privacy button unchecked (because we don’t want search engines to index our site in a developmental or experimental stage) and click on Install WordPress.

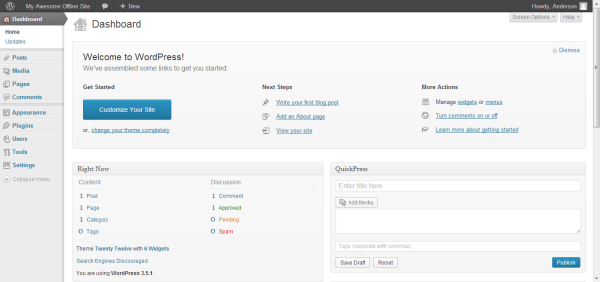
And you’re done! There you have it! A fully working offline installation of WordPress in your Windows PC using WAMP.
No comments:
Post a Comment