SQL Server : Steps to install SQL Server 2012
Step1 - Download installation file
Download installation files from this link - http://www.microsoft.com/download/en/details.aspx?id=29066
After downloading the above files, your system will look like below:
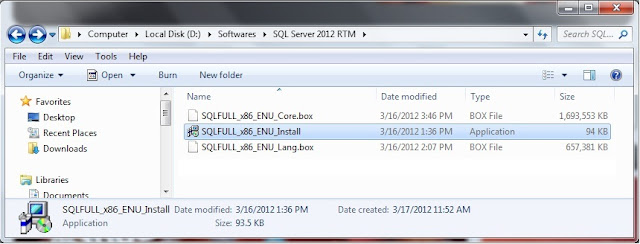
Step 2 - Double click the .exe file
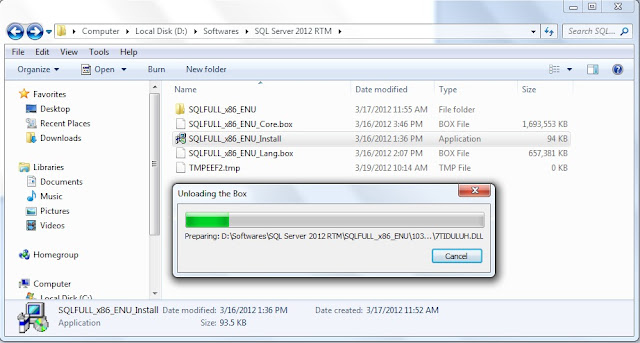
Double click the “SQLFULL_x86_ENU_Install.exe”, it will extract the required files for installation in the“SQLFULL_x86_ENU” folder as shown below:
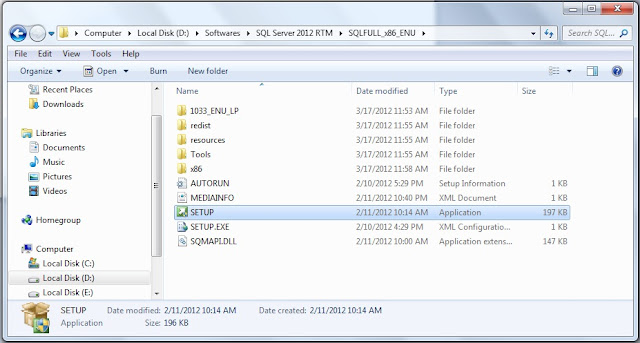
Step 3 - Start setup
Click the “SQLFULL_x86_ENU” folder and double click “SETUP” application.
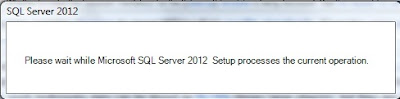
Checking your system requirements for installation.
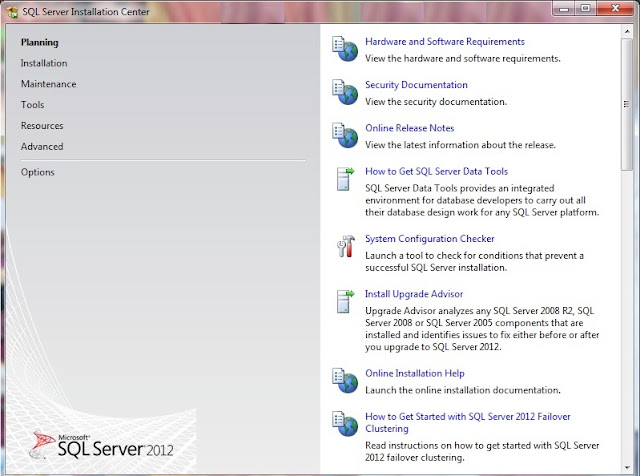
Step 4 - SQL Server Installation Center screen
When you will see “SQL Server Installation Center” screen, it means that your system configuration is perfect
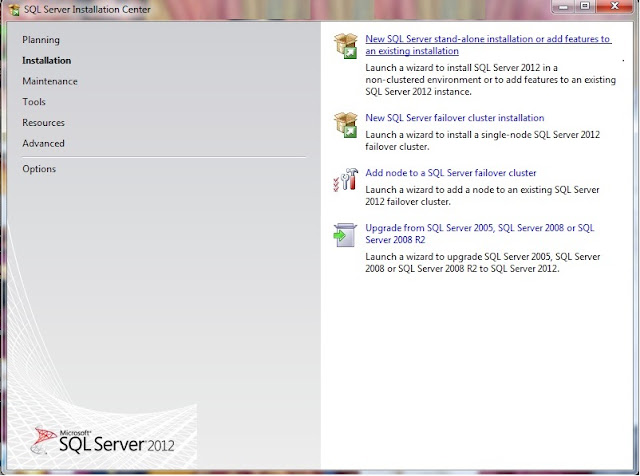
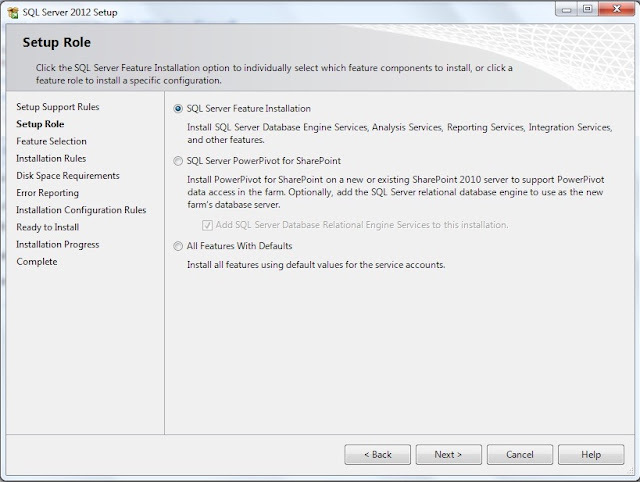
Step 5 -
Click installation from the left pane and select “New SQL Server stand-alone installation or add features to an existing installation”.
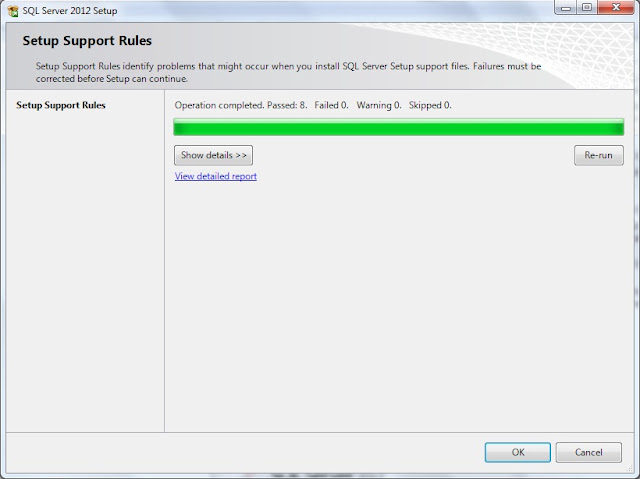
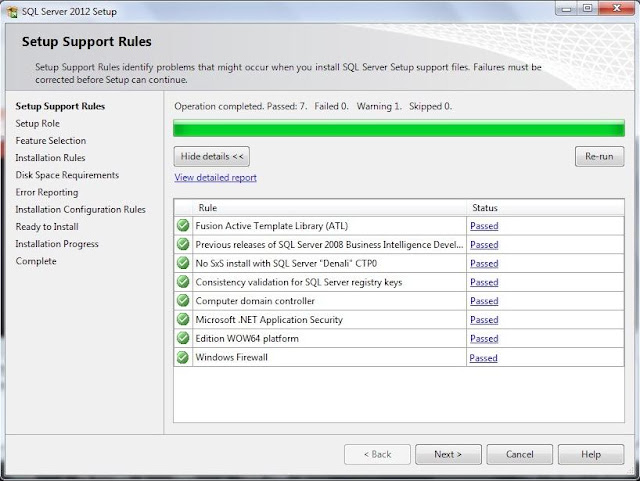
Step 6 -
In the “Setup Support Rules” Click "OK" button when you have failed 0. Otherwise fix the issue and click "Re-run"button.
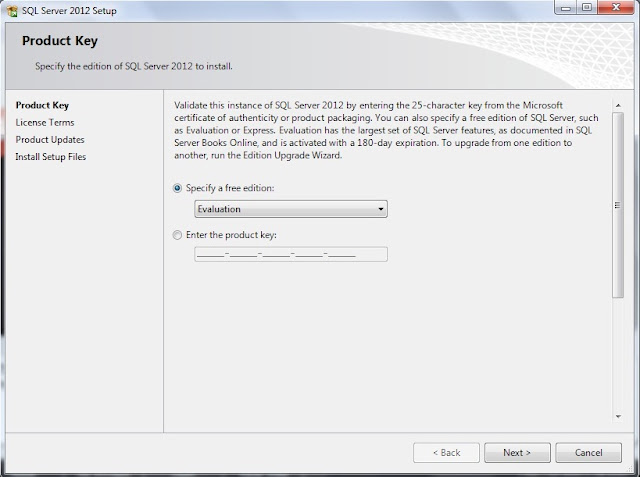
Step 7 - Specify edition
Here, I left default edition “Evaluation”, but you can also choose “Express”
Step 8 -
Press “Next” button.

Step 9-
Select the “I accept the license terms” and click “Next” button.
Step 10 -
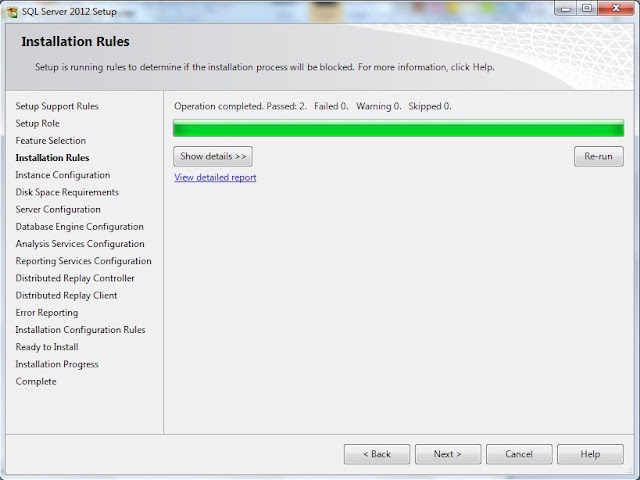
Step 11 -
Press “Next” button, if all status are passed. Otherwise fix the issue and press “Next” button.
Step 12 -

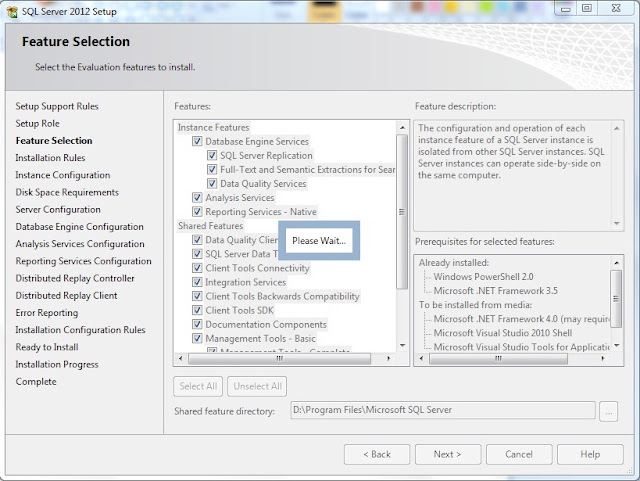
Step 13 -
Select the features and change the “Shared feature directory” if you want, otherwise press “Next” button.
Step 14 -
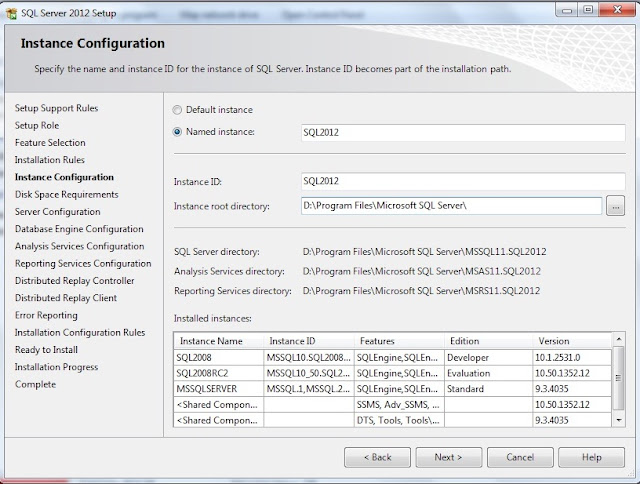
Step 15 -
Select "Named Instance" or "Default instance"
Press “Next” button if failed count is 0.
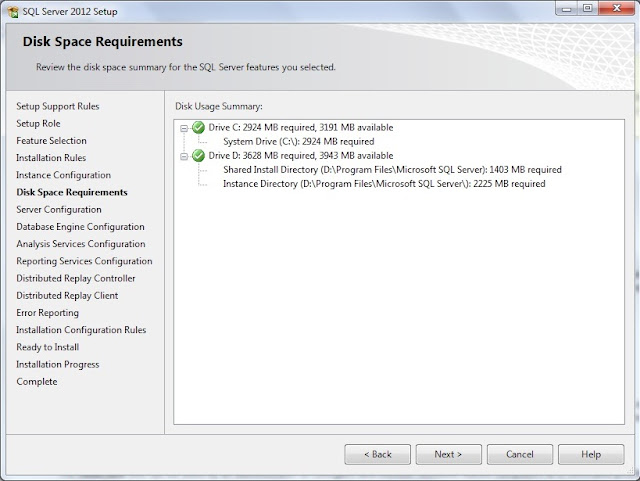
Step 16 -
Press “Next” button.
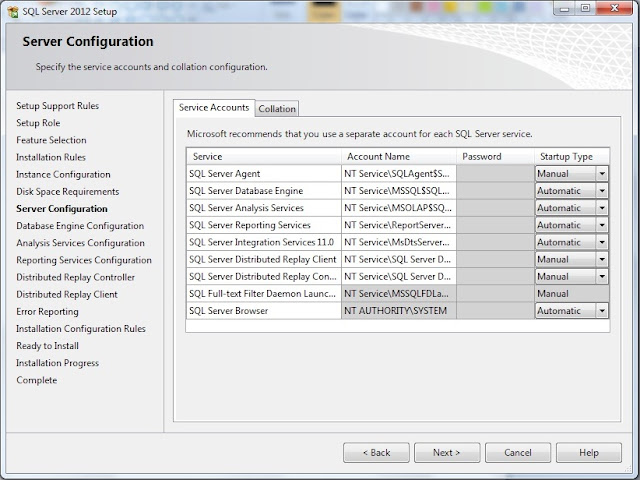
Step 17 -
Select “Startup Type”
Step 18 -
Change the “Collation” if you want, otherwise Press “Next” button.

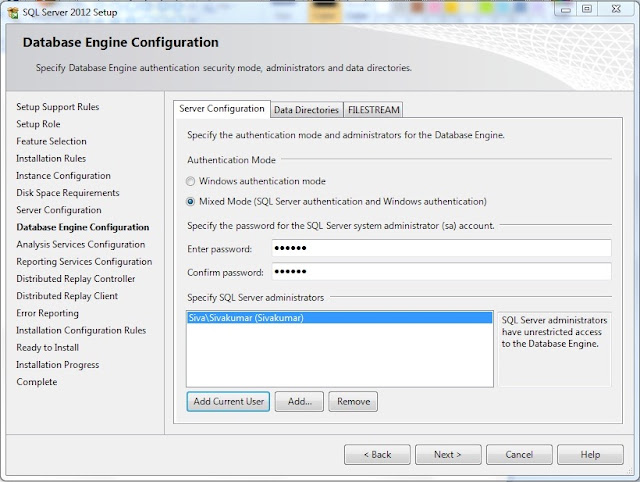
Step 19 -
Choose Authentication Mode Windows/ Mixed Mode. Provide username and password if you select Mixed Mode.
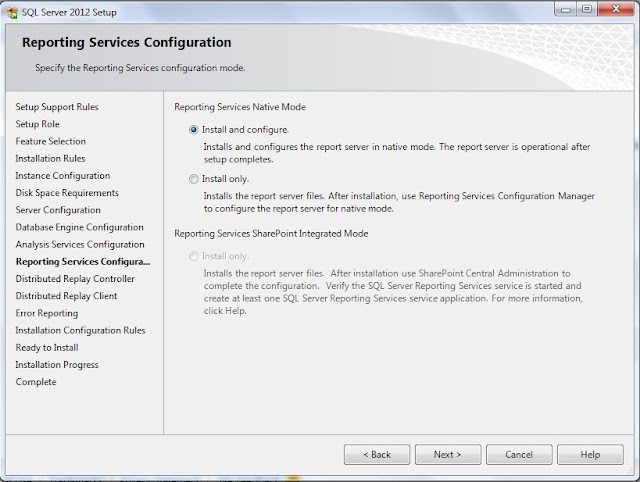
Step 20 -
Step 21 -
Press “Next” button.
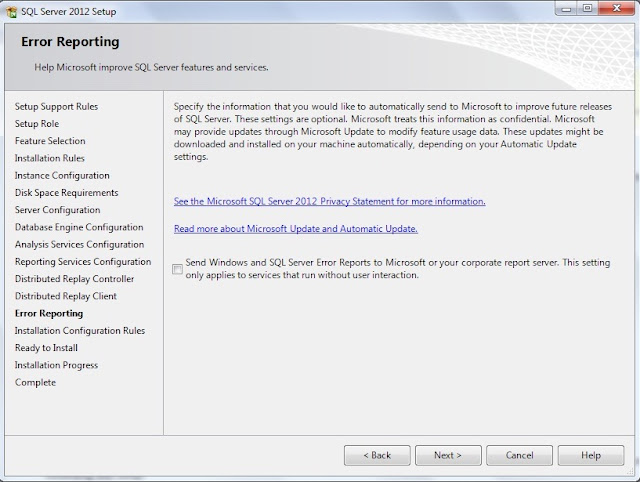
Step 22 -
 |
| Add caption |
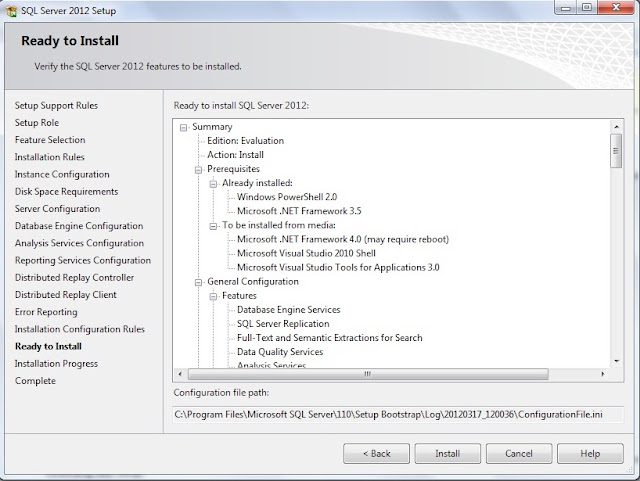
Step 23 -
Press “Next” button, if failed count is 0.
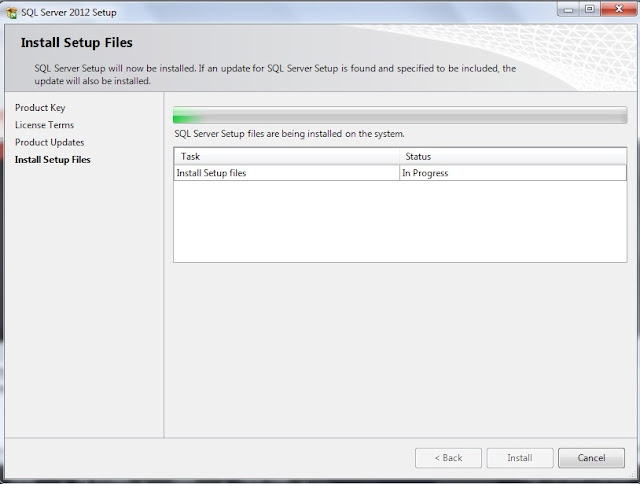
Step 24 -
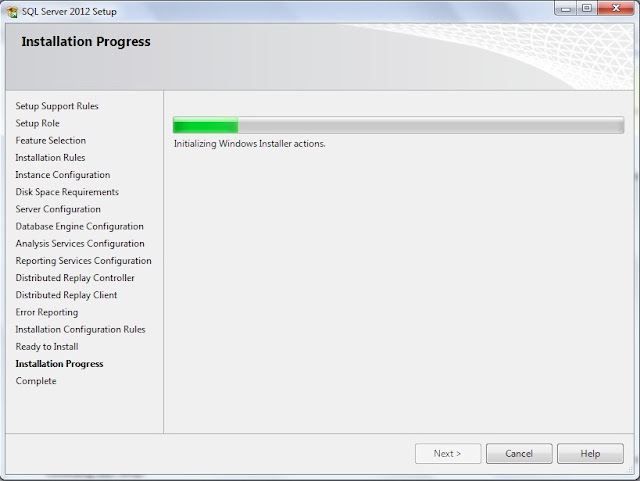
.
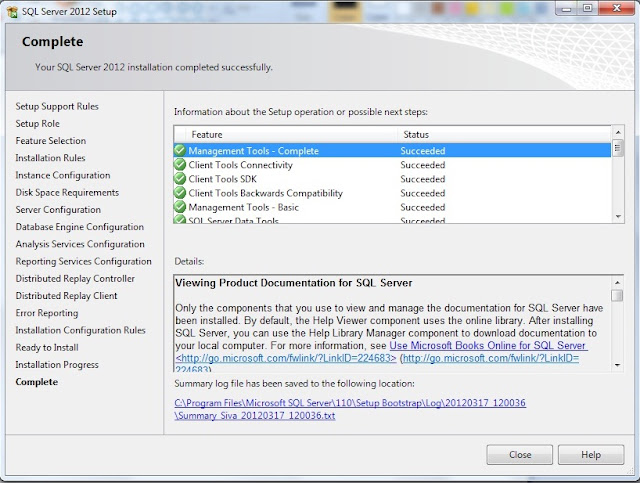
Step 25 -
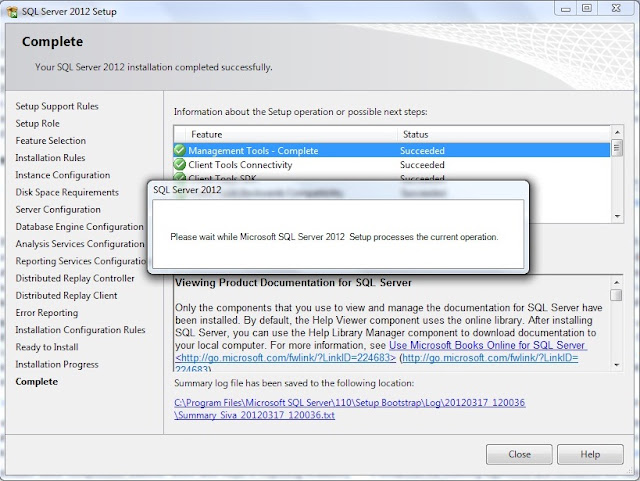
Step 26 -
you have successfully installed SQL Server 2012
Friends, If you like this post, please share with your friends on Facebook and Google+ and recommend us on Google using the g+1 button on the top right hand corner.
No comments:
Post a Comment